
Starting seeds indoors gives you a head start on your plant's overall growing cycle. Not only will plants be stronger for transplanting into the garden, but plants will usually start putting on fruit sooner, giving you a longer harvest window. It's especially helpful if you live in a cooler climate like we do with a shorter growing season. It can also be a good indicator of quality control too, but you'll see what I mean by that a little further down.
*Disclaimer -- With something like gardening, there is no 100% black and white wrong or right way to do things. We don't write these guides a definitive way to do things, but rather as a way to share how we do things and how it works out for us (or doesn't!).
Handy Supplies for Starting Seeds Indoors::

- This year we decided to use the ever popular peat pellets that come in the seed starter greenhouse kits. You can pick them up at local home and garden stores and nurseries. You can use these as-is or you can choose to use them as a supplement. Don't worry, we'll cover both ways.
- Seeds
- Water
- Labels and pen for marking
- Cups -Though I prefer using paper cups this year we ended up with styrofoam.
- Potting soil or worm castings
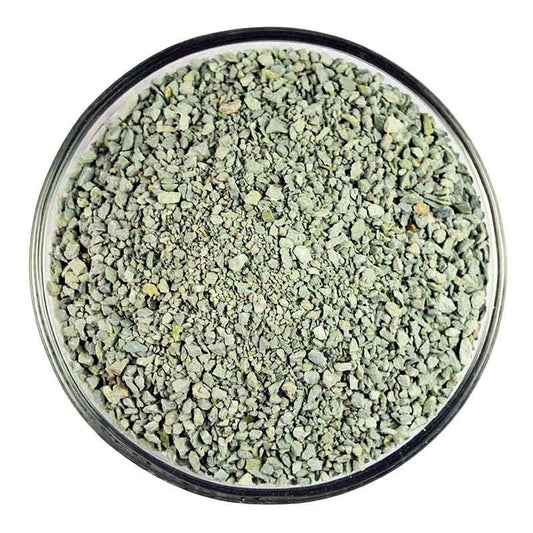
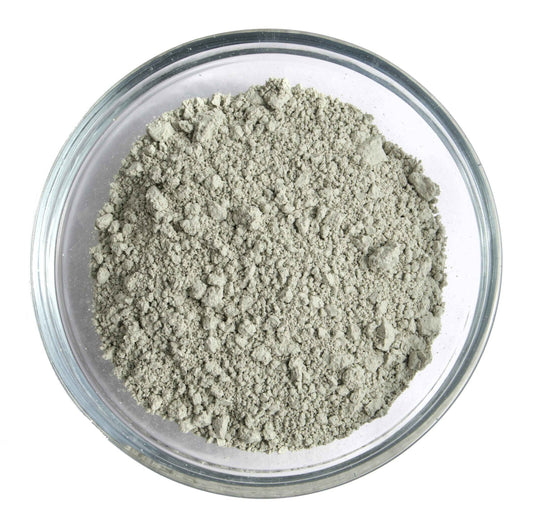
- Azomite Powder
These greenhouse starter kits are ridiculously easy to use. Simply add warm water when you're ready to start your seeds and watch them grow before your eyes. I believe we used at least a quart or so, but you'll know if you need to add more by how quickly the pellets absorb it.

You can either plant your seeds directly into the little pods or you can take it one step further and use these prepared starters in conjunction with other elements that are helpful for the germination and sprouting process.
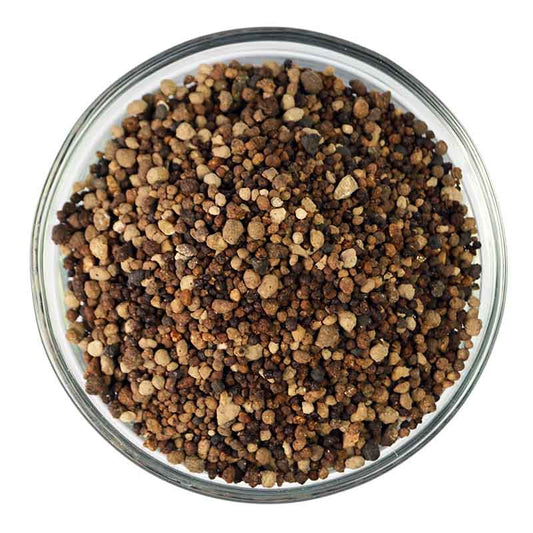
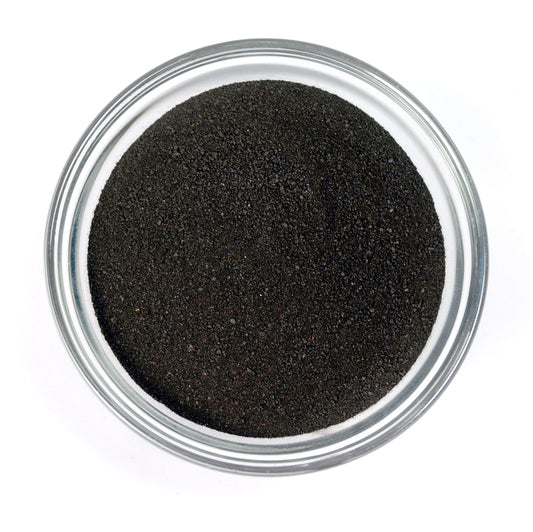
 We wanted to try doing some of the starts with additional components. Our elements of choice were worm castings and Azomite powder. The castings are a nice boost of fresh, biological life and with no harmful side effects, and we helped produce them ourselves so we know they're extremely pure. The Azomite is excellent for coating seeds or irrigation for maximum germination and initial growth. Azomite is a good amendment for crops, compost and potting soil and is used to increase size and yield of fruit as well as to help plants fend off disease.
Scoop the prepared mix into cups and place the moistened peat pellets in the center.
*Helpful Hint: Label cups while empty. This will help avoid accidental spills earlier or unintelligible handwriting. ;)
Place seeds in the center. We chose to do two seeds per cup just in case some didn't germinate.

Cover seeds with 1/4 - 1/2 inch of soil.
Poke holes along the bottom of the cup to allow for drainage. Too much moisture can lead to seeds not germinating or molding and contracting diseases. Water just until a few droplets seep from the holes.
Place your cups in a safe spot where your starts won't get too cold but can still catch some natural sun if possible. If you just don't have any natural sunlight available, be sure to use a growing light to help encourage plants to grow.
 If you do choose to keep your seeds growing in the greenhouse container provided be sure you create a visual chart of what is planted. ;)
About an hour after we planted this first greenhouse batch our 1 year old, K, tipped them all over onto the floor. So, our chart is pretty useless but for everyone else, just do it for your own sanity later on.

^^The individual photos were taken at 5 days after planting. The group photo was taken at 7.
1 comment
I purchased 4 oz. of Azomute. I want to see if coating seeds with Azomute will increase germination and/or hardier seedlings. Probably in a couple of weeks I’ll give you an update.